TWD: Finnish Pulla

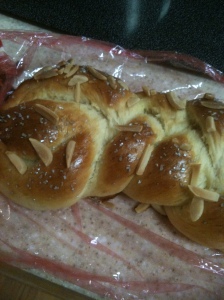
This week our recipe was a holiday treat!   A lovely loaf of cardamom-scented bread – not too buttery or eggy.  Some shaped their loaves into a festive wreath tied with a bow; I opted for small braided loaves – perfect for gift-giving!

The dough mixed up fairly easily and rather than knead it myself – I used my KA for most of the process.  I used I wooden spoon until I had added four cups of flour, then used my mixer as I added by tablespoon to get the right consistency.  While the recipe called for seeds from cardamom pods, I don’t have a spice mill or a mortar and pestle, so I paid the premium for ground cardamom.  I used a teaspoon of the ground and I think it scented the bread nicely without being too overpowering.  With the dough hook on my KA, I kneaded the bread on medium speed for ten minutes – never leaving the room as my mixer tends to be mobile at higher speeds.  The dough truly came out satiny and lovely.  I appreciated the short length of the two rises – it made it easy to make the bread in one leisurely morning or afternoon. 

I oiled a large piece of parchment paper and my hands for shaping the breads.  No stickiness at all!  After the second rise, I brushed my breads with an egg wash and sprinkled slivered almonds and a pretty gray crystal sugar on top.  The breads looked pretty and tasted good – just a hint of sweetness and spice.  I will definitely make these again for the holidays!  For the full recipe and beautiful pictures and directions, please visit http://www.thedailymorsel.com/2012/12/finnish-pulla/comment-page-1/#comment-8594, our host, Erin’s blog.

finished finnish pulla

Tuesdays with Dorie: Gingerbread Baby Cakes

If you are looking for a unique gingerbread recipe with adult flavors – look no further.  This complex taste offers notes of coffee, molasses, and cocoa with the snap of ginger.  Find the recipe at http://karenskitchenstories.blogspot.com/.  This is a recipe that begs to be tweaked!  With the Tuesday chatter ringing in my ears, I made some adjustments to the recipe.  Finding myself without espresso powder, I substituted cocoa powder as suggested by another baker.  This definitely made the cake less gingery and gave a stronger taste of cocoa.  The other advice I got from the chatter was to cut back on the molasses.  The recipe calls for 2 cups – I used one and it was more than enough.  I substituted 1/2 c. of maple syrup and a 1/2 cup of strong coffee (make sure you fold from the bottom of the bowl to incorporate the coffee evenly throughout the mixture.  I also fudged on the pepper – a teaspoon seemed like a bit much – I gave it a few grinds of the pepper mill and left it at that.

I baked it as a larger cake for a party this weekend.  I plan to serve it with some whipped cream to make it more kid-friendly.  I made a real baby cake to sample – my husband and I enjoyed the complexity of the flavors and the girls thought it was awesome.  I’m not sure that I got the right combination of flavors – ginger should be a bit stronger I think.  I probably could have done without the coffee altogether or at least dialed it back substantially.  Maybe a 1/4 c. of coffee and 3/4 c. of maple syrup…despite the brown sugar and the maple syrup the cake itself was not overtly sweet.

I liked this recipe well enough to play with the flavors a bit in the future to find the perfect gingerbread!

Tuesdays with Dorie: “Butt”ermilk Crumb Muffins

Whaaaat?


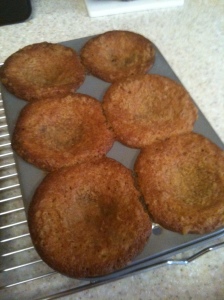
These muffins were quick, easy, and delicious – though somewhat depressed.  How is it that everything I bake deflates, crinkles, puckers, or recedes?

I follow directions, I swear that I do, but my muffins resembled navels – all innies it’s true!

It’s unnatural I say

How they overflowed and refused to budge from their tins

So I sliced the tops off, mutilating the delicate crumb

I don’t why but my bread always looks dumb

If anyone has a word of advice, maybe this is a muffin I will attempt twice!

A baker most expert at http://downhomedesserts.blogspot.com/ can be found

With the recipe for the tastiest muffins around.


Tuesdays with Dorie: Bagels

When I first saw that we were baking bagels, I thought why?  We have perfectly good bagel places here in Charlotte (not like New York), but I don’t buy bagels for the most part because I don’t need more bread in my life.  Yes, that’s why I am doing a baking blog…I digress…I will say that after I made them, I may never buy a bagel again.  I won’t be baking them all the time, but perhaps for that NYC friend who visits or as a special treat for the family, I will get this recipe out.

I went ahead and mixed the dough in my KA – it only required medium speed for 6 minutes of kneading, so I wasn’t concerned about burning out my motor.  Though the dough was a bit sticky, I lifted it out of the bowl using a spatula and turned it into my buttered bowl.  After brushing it with butter, I let it rise.  When it had doubled in volume, I deflated the dough and stuck it in my fridge overnight until I could bake them off.

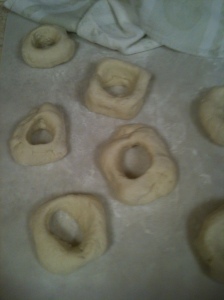
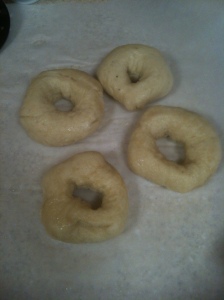
The boiling and baking was a process, but with a little organization (lots of parchment paper) it went smoothly.  Per the recipe, I divided the dough in half and stuck the other half back in the fridge.  I could have gotten 5 good-sized bagels out of each half of dough, but I made some mini bagels for the kids as well.  Shaping the bagels was fun – drawing the dough over itself to form a knot, turning the knot over and smoothing it into ball and plunging my index finger through to make the hole.  Using your thumb and forefinger, you rotate the dough until it looks more like a donut with a really big hole!

While preheating the oven to 500 degrees, I made my water bath of boiling water, a bit of sugar and baking soda.  I took another baker’s advice and only boiled each side for 60 seconds.  They came out smooth (ok maybe a few wrinkles – you know me and my wrinkled bread) and looked like bagels!

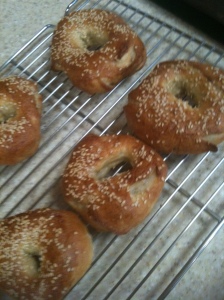
I lined my baking trays with parchment paper and after a quick brush of vegetable oil and a light dusting of cornmeal, I moved my boiled bagels over.  I used an egg white glaze and then sprinkled  sesame seeds over the top.  I slid the tray into the oven and as instructed, threw a small amount of ice water into the bottom of the oven to create steam. I closed the oven door quickly and lowered the temperature to 450 and baked the bagels for 25 minutes.  At that point, I turned off the oven and let them sit in it for 5 minutes.  The last step in baking is leaving them in the oven for another five minutes with the door open.  I imagine that this helps make them chewier.

As I laid them out on a baking rack to cool, I marveled at how professional they looked.  This is definitely a recipe for impressing your friends!  We enjoyed a feast that evening of smoked salmon, capers, and cream cheese.  I loved the flavor and the texture was great – chewy, but not doughy.  I will make these again!  If you want the recipe, please visit our host, Heather’s blog, http://www.heathersbytes.com/.

Shaped bagels

Boiled bagels

My lovely bagels!

Tuesdays with Dorie: Cranberry Pumpkin Bread

When you hear cranberry pumpkin bread, you think (like I do) of a quick bread, not a yeast bread.  This was a yeast bread that required its own babysitter!  I don’t think I’ve nursed a loaf of bread like this before…

Throwing the dough together was pretty easy, since it could all be done in my KA mixer, as it only required medium-low speeds.  Had it been more heavy duty – kneading on medium-medium-high, I would have burned out my stand mixer.  It was only a matter of changing from the paddle to the dough hook once all the ingredients were combined.  I ended up adding more bread flour, tablespoon by tablespoon, until the dough balled and climbed the hook.

Fresh cranberries were not to be had since it was only the beginning of October. so I used dried.  I like walnuts, but my children do not, so I omitted them from the recipe.  The cranberries, pumpkin, nutmeg, and cinnamon made for an aromatic dough. For the first rise, I turned my golden orange ball into a buttered bowl, covered it tightly with plastic wrap, and waited two hours.  At that time, I deflated it by punching it down, returning it to the bowl and letting it refrigerate overnight.  

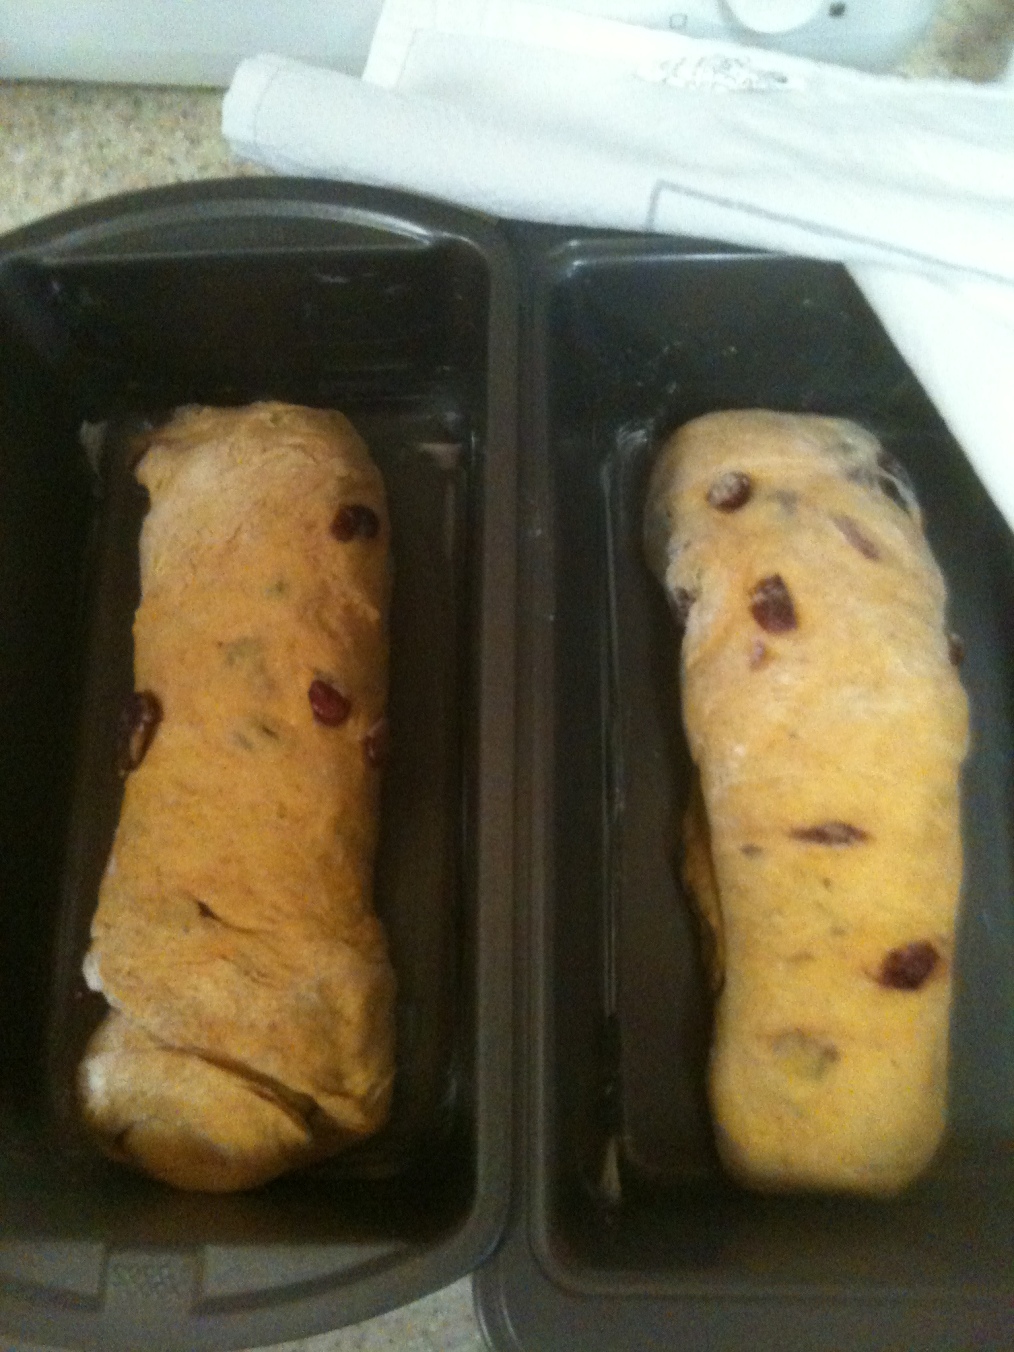
You have to take it out of the refrigerator about six hours before you bake, so I took my mine out first thing in the morning.  You let it sit out for 3-4 hours, then divide the dough and put it in buttered pans.  The recipe called for three small pans, but I used two medium pans.  After dividing the dough and shaping my loaves, I put them in the pans and covered them lightly with a dish towel.  Two hours later, I was ready to bake off the bread.  The pans went into a 350 degree oven for just over 35 minutes.  The golden loaves reminded me of my “sharpei” experience with the white loaves – a little smushed looking, like they couldn’t bust out of their pans.

They were tasty and the girls enjoyed them, but I’m not sure it’s a keeper.  I prefer my pumpkin banana bread (a quick bread), which may take a bit longer to mix up, but no babysitting is required.  As always, glad I tried it!

If you want to see the recipe, check out this blog, http://thisbountifulbackyard.com/

Image


Tuesdays with Dorie: Blueberry Nectarine Pie

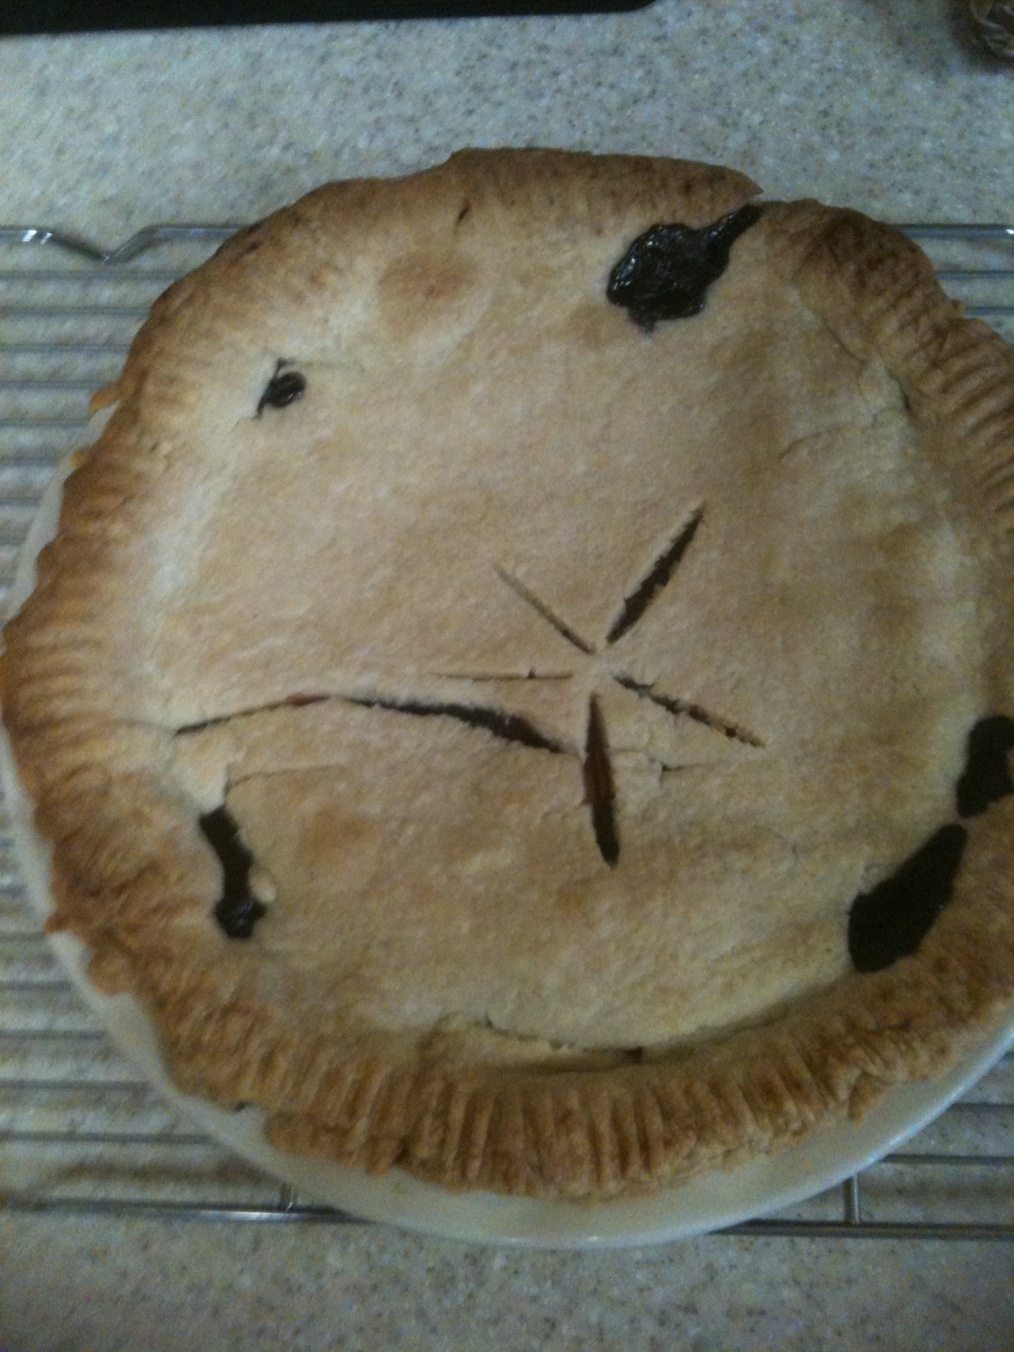
This Blueberry Nectarine Pie is a blue ribbon winner!  The recipe can be found on the websites of this month’s hosts: Liz, http://thatskinnychickcanbake.blogspot.com/ and Hilary, http://manchegoskitchen.typepad.com/.

First off, a homemade pie deserves a homemade crust.  The recipe for the pastry in “Baking with Julia” called for butter and Crisco. Lard (or Crisco) is known for making a really flaky crust. I took a pie-baking class at Charlotte’s own Harvest Moon Grille and the chef rendered her own lard for the crust.  I am not, however, completely comfortable with Crisco or lard in my kitchen.  So instead of using the recommended recipe for pie crust, I used Martha Stewart’s pate brisee instead, which uses all butter.  Two sticks worth.I used my new food processor to make the dough – a Cuisinart 9-cup, literally out of the box (Happy Mother’s Day to me!)  I probably needed a bit more ice water though my dough came together.  I wrapped my two dough discs in plastic and put them in the fridge to work on my filling.

This is the first blueberry pie recipe I’ve come across where you cook down the fruit in a saucepan.  Martha’s “Perfect Blueberry Pie” goes through many stages of chilling to keep the fruit from getting soupy when you bake it.  But this pie practically has you making preserves!

Image

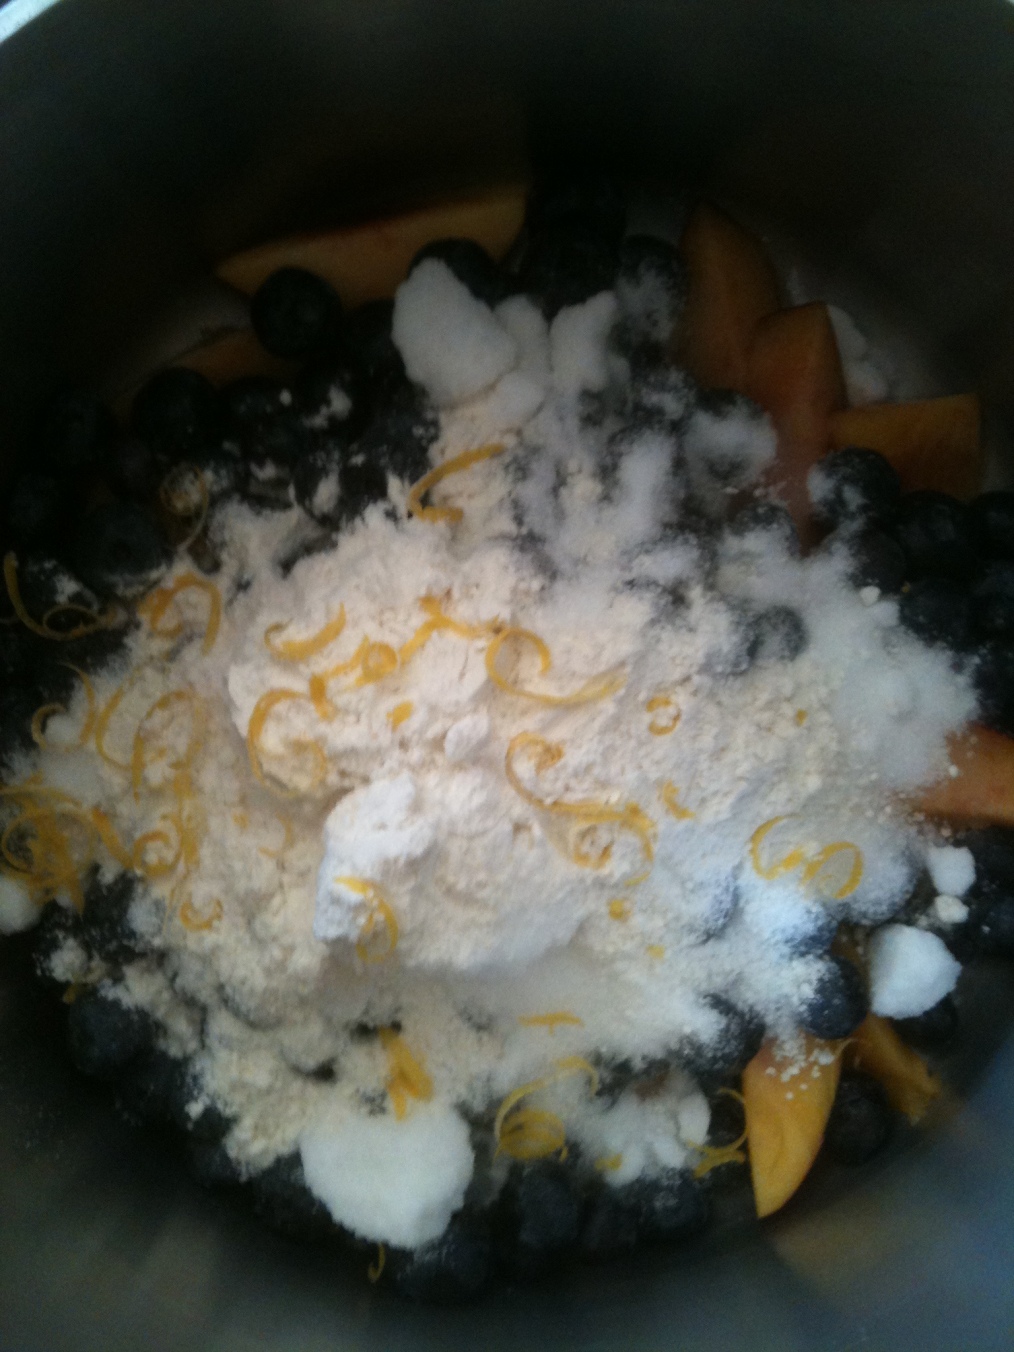
Half the fruit was placed in the saucepan (a pint of blueberries and one and a half nectarines), with sugar, a bit of flour and lemon zest.  Even this looked pretty (see above).  The fruit was to be brought to a slow boil over medium heat while stirring constantly.  I should have known that whenever a recipe says that you will be stirring constantly for a very long time!  It felt like 20 minutes and my beautiful fruit did look like the most perfect jam.  I poured my cooked fruit into a bowl and added the rest of the fruit and allowed it to cool.  It smelled heavenly!

As I let the fruit come to room temperature, I took out my dough discs and floured my work space.Rolling chilled dough is tough enough, but I found my dough cracked easily and it was difficult to roll it thin.    I managed to get the bottom into the pie plate without too much fuss.  I spooned in the cooled fruit and rolled out my top crust.  This should have been a breeze, but again I had trouble getting it to the desired thickness and keeping it in some semblance of a circle. I wonder if the cracking was because I didn’t use enough ice water…isn’t there a trick to using a little bit of water to prevent dough from cracking?

I just barely got my topper on and tried to seal all cracks.  I sealed them as best I could, but I noticed they weren’t completely repaired after baking:(  I chilled the put-together pie for twenty minutes as directed, then baked it off.

Image

I read everyone’s comments thoroughly, so I knew to let the pie cool completely before cutting.  It actually sat for several hours until it was served with a scoop of cherry vanilla ice cream.  If anyone has advice on how to deal with the cracking crust – please let me know!


Tuesdays with Dorie: Chocolate Cherry Burnt Biscotti

The original recipe was a hazelnut biscotti, but as I am not a hazelnut fan, I opted to go rogue, deciding on a chocolate cherry version with cocoa, cherry kirsch, almond extract, and dried cherries as substitutions. Other bakers suggested swapping out something of the flour for cocoa powder.  I did this – using a third of a cup of cocoa, but the dough was so sticky that I ended up adding back most of the flour I’d replaced just to manage the dough.

I wondered if the dough was sticky because of the cocoa or if the original recipe was just as difficult to work with.  I guess that’s an argument for making the recipe as is the first time around and improvising on round two.

I discovered a good trick for rolling out the logs – flour a piece of plastic wrap, plunk down half the dough, then wrap and roll.  The recipe said the logs were supposed to be about twelve inches in length – mine didn’t quite make it.

During the first baking, I made a fatal error.  I smelled the scorching of cocoa, but was afraid to take it out early, by about five minutes.  Should have gone ahead and done it because the biscotti was bitter as a result and nothing could be done to fix it.  I could have maybe tried some powdered sugar on the edges to sweeten it a bit, but they really weren’t salvageable.  I think the texture was good (I went ahead with the second baking), but I will definitely read other bakers’ posts before attempting this one again.

If you want to try the original recipe,  please visit homemadeandwholesome.wordpress.com

Or

http://www.bakingandboys.com

Tuesdays with Dorie: French Strawberry Cake and Imperfect Genoise

No photos this time.  It just wasn’t pretty here in the Ragland kitchen.  Since we had just driven in from D.C. on Sunday, I opted for a Father’s Day do-over on Monday and planned a menu of herbed pork tenderloin, rice pilaf, and tarragon roasted asparagus, and of course, a French Strawberry Cake.

With my trusty helper, Olivia, in the kitchen to assist.  We attempted the Perfect Genoise – the foundation of our dessert.  Dorie Greenspan writes that genoise is the first cake batter mastered by a French patissier.  Clearly, I would have been stuck in genoise school for some time.  Just the directions for the Genoise amounted to two pages (Baking with Julia is a BIG book!)

This unleavened cake (no baking soda or powder) is just eggs, sugar, flour, and melted butter.  You beat the eggs and sugar together until the mixture triples in size – a light, airy froth.  I spent a good 7-8 minutes using the whisk attachment in my KA mixer.  I think I didn’t use a high enough speed at first, so I increased it to “6” and it started to fill with air.

I wish I had seen my compadres posts about sifting the flour into the mixing bowl.  As I I tipped my waxed paper cone of twice-sifted flour, I asked my assistant for help.  Unwittingly, she dumped the contents in their entirety into my light airy mixture. The flour was supposed to be added in three additions.   I could feel the air being sucked out of my batter, though I attempted to fold – but as I folded I kept finding more and more pockets of flour, as well as a nice pile at the bottom of my mixing bowl.

All I could do was move forward, so I did, pouring the batter into my prepared pan and hoping for the best. Ollie and I watched through the oven window as our cake refused to rise – deflating our hopes and our dessert.

I only made 2/3 of the strawberries and whipped cream frosting – it wouldn’t take much to frost our one layer – standing at barely 1/2″ (I don’t think I am exaggerating…)  Dense and eggy, I went ahead and added some of the strawberry liquid to what would be more aptly named, strawberry shortcake.

We ate it all, but it wasn’t the light dessert I had hoped for.

If this is something you would like to try, see http://sophiasbaking.blogspot.com/ or http://thinklovesleepdine.blogspot.com/ for the recipe.

TWD: Oasis Naan

Intimidated by the calories and the time-consuming nature of the Sticky Pecan Buns last month, I sat out the last Tuesday with Dorie.  I am happy to say that this afternoon I was back in full force and eager to make Oasis Naan.  I planned an Indian meal for tonight so that I could serve the naan in lieu of rice – a chicken, onion, and potato curry with Trader Joe’s curry simmer sauce and a can of light coconut milk.

The recipe called for stirring the flour and water (with yeast)  in one direction.  When trying to blend flour and water, that’s trickier than it sounds.  I had hoped to break out my new food processor or take my KA out of the corral for this recipe, but what it called for was brute strength.  I managed to get the 3 cups of flour and water blended, only to have it become a sticky mess as I added the rest of the flour cup by cup.  I turned it out onto my flour-y  countertop and spent the next 10 minutes as instructed (kneading vigorously)!!!

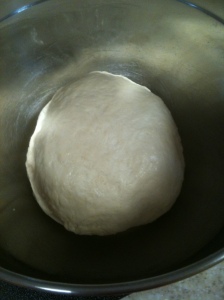
The dough became smooth and elastic as I worked it, and finally I placed the ball in a well-oiled bowl.  Covered with plastic wrap, the dough doubled in size over the next two hours.   Possessing neither a pizza stone nor quarry tiles, I opted to invert a baking sheet as the recipe suggests,  placing it on the oven rack.  While waiting for the oven to reach 500 degrees, I prepared the dough for baking.  Dividing the dough evenly into eight balls, and with rolling pin in hand, I rolled out 4 dough circles with the help of my daughter Olivia.  She particularly enjoyed pricking the naan allover with the fork.  I chopped some scallions for adornment and put some cumin in a shaker with a top of wire mesh.  Using this, we could just “dust” the naan with cumin and not blacken it!

a ball of dough in an oiled bowl

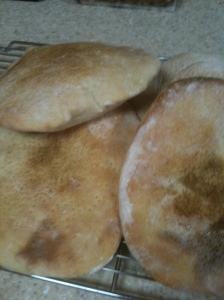
Our first batch the dough seemed too dense – the circles weren’t thin enough and I had forgotten to wet the center of the circle before pricking it with the fork.  We spent a bit more time rolling out our second batch, and the water seemed to thin the dough a bit and made the pricking easier.  We skipped the scallions on this batch and just dusted them with salt and cumin.  They definitely looked more authentic!

Golden Naan

I was surprised by how much the kids liked it – they are both taking it to school for snack tomorrow.  I am hoping that our second attempt was better than our first – I will try the second batch tomorrow and see if it was “airier” than the first.  I could see snacking with this bread and some hummus.  While it is delicious, I don’t know if I’ll make it again.  I will be interested to hear about the texture of other bakers’ breads…

If you want to try to make Oasis Naan yourself, visit one of our hosts for the recipe:

http://alwaysaddmorebutter.wordpress.com/

or

http://gaaarp.wordpress.com/

Looking forward to Fresh Strawberry Cake in a couple of weeks!

Tuesdays with Dorie: Hungarian Shortbread

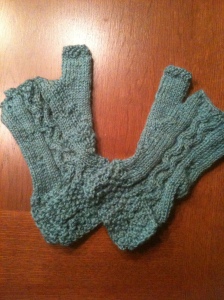
Tuesdays with Dorie?  More like Wednesday!  I was surprised late Monday night to receive the LYL post – I had written down Hungarian Shortbread for May 8 and Sticky Pecan Rolls for May 22.  I had glanced over both upcoming recipes, so I knew shortbread was the “easy” one for the month.  However, I proceeded to jam it into a day where I’d already run four miles, taken a yoga class, and finished knitting a pair of barrista mitts I’d been working on since January.
Somehow nothing about this baking project was easy – maybe because it was sandwiched between getting back from Charlotte Yarn and school pickup.  I had just enough butter, but not enough sugar – a novice mistake to start baking without checking to be sure I had all the ingredients.  So, with a bowl of room temp butter already fluffed in my Kitchen Aid, I ran to my friend Jean’s for a cup of sugar.

I always find it tricky to add ingredients to the mixer – even if I stop to raise the paddle, it’s so covered with goo that I can barely add the egg yolks or my dry ingredients.  In my rush, I forgot to lock the stand and a cloud of flour fell down upon me as I clicked the mixer on low.  Dusting the flour off my shoes, I continued until all the ingredients were blended seamlessly.  My ball of mostly butter, sugar, and flour turned out easily onto the counter. I split it in half and rolled each into a ball and wrapped it in plastic  for the freezer.

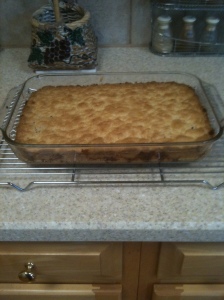
The next part you won’t see coming.  After half an hour in the freezer to harden, you grate the ball of dough into a 9 x 13 baking pan.  It seemed easy at first, until the dough started to warm in my hand and my nice little grated flakes became flying dough balls.  I pressed the dough gently into the pan and its corners, then spread a cup of raspberry jam over top.  The recipe calls for you to make your own rhubarb jam, but as I am not a fan or rhubarb, I opted for a store-bought shortcut.   I could only hope the second ball would be easy to grate – but it really wasn’t.  How is this the “easy” recipe of the month?  I guess because to make the sticky pecan rolls you have to make brioche dough (which is it’s own multi-page recipe!!!!) and then add a bunch of steps (and butter) to that – we’re talking pages of instructions!  But back to the shortbread…

Without a second to spare, I put the shortbread in the oven, and took it out about 40 minutes later and ran out the door to pick up my kiddos.  It was golden brown and smelled wonderful.  By the time we got home, it was just cool enough to cut.  On a lark, I calculated the points plus values (Weight Watchers) and determined it to be 7 points per mini square.   I cut it into 32 squares – the recipe suggested cutting it into 12 or 24.  While delicious, I will take my calories elsewhere.  Something chocolate-y or maybe those sticky buns…

Granted, when most people think shortbread, they think the hard as a rock Walker’s biscuits from the store.  This Hungarian version is much softer, lighter in texture, if shortbread can be light.  If you love shortbread, I would recommend it, but you’ll need some muscle to make these.   I’d prefer chaturangas to grating dough.

Stay tuned for the pecan rolls – they are one of my favorites, so I may just have to give over an entire day to try to make them.  If you want to try this shortbread recipe, visit one of our hosts http://crazyworldofcher.blogspot.com/2012/04/on-shoulders-of-those-before-us-twd.html#more to see it posted.  Check out my barrista mitts!