Tuesdays with Dorie: Bagels

When I first saw that we were baking bagels, I thought why?  We have perfectly good bagel places here in Charlotte (not like New York), but I don’t buy bagels for the most part because I don’t need more bread in my life.  Yes, that’s why I am doing a baking blog…I digress…I will say that after I made them, I may never buy a bagel again.  I won’t be baking them all the time, but perhaps for that NYC friend who visits or as a special treat for the family, I will get this recipe out.

I went ahead and mixed the dough in my KA – it only required medium speed for 6 minutes of kneading, so I wasn’t concerned about burning out my motor.  Though the dough was a bit sticky, I lifted it out of the bowl using a spatula and turned it into my buttered bowl.  After brushing it with butter, I let it rise.  When it had doubled in volume, I deflated the dough and stuck it in my fridge overnight until I could bake them off.

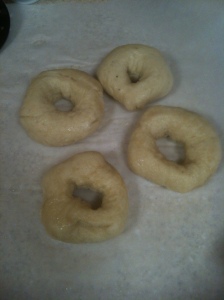
The boiling and baking was a process, but with a little organization (lots of parchment paper) it went smoothly.  Per the recipe, I divided the dough in half and stuck the other half back in the fridge.  I could have gotten 5 good-sized bagels out of each half of dough, but I made some mini bagels for the kids as well.  Shaping the bagels was fun – drawing the dough over itself to form a knot, turning the knot over and smoothing it into ball and plunging my index finger through to make the hole.  Using your thumb and forefinger, you rotate the dough until it looks more like a donut with a really big hole!

While preheating the oven to 500 degrees, I made my water bath of boiling water, a bit of sugar and baking soda.  I took another baker’s advice and only boiled each side for 60 seconds.  They came out smooth (ok maybe a few wrinkles – you know me and my wrinkled bread) and looked like bagels!

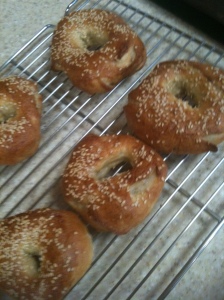
I lined my baking trays with parchment paper and after a quick brush of vegetable oil and a light dusting of cornmeal, I moved my boiled bagels over.  I used an egg white glaze and then sprinkled  sesame seeds over the top.  I slid the tray into the oven and as instructed, threw a small amount of ice water into the bottom of the oven to create steam. I closed the oven door quickly and lowered the temperature to 450 and baked the bagels for 25 minutes.  At that point, I turned off the oven and let them sit in it for 5 minutes.  The last step in baking is leaving them in the oven for another five minutes with the door open.  I imagine that this helps make them chewier.

As I laid them out on a baking rack to cool, I marveled at how professional they looked.  This is definitely a recipe for impressing your friends!  We enjoyed a feast that evening of smoked salmon, capers, and cream cheese.  I loved the flavor and the texture was great – chewy, but not doughy.  I will make these again!  If you want the recipe, please visit our host, Heather’s blog, http://www.heathersbytes.com/.
Shaped bagels

Boiled bagels

My lovely bagels!

Tuesdays with Dorie: Cranberry Pumpkin Bread

When you hear cranberry pumpkin bread, you think (like I do) of a quick bread, not a yeast bread.  This was a yeast bread that required its own babysitter!  I don’t think I’ve nursed a loaf of bread like this before…

Throwing the dough together was pretty easy, since it could all be done in my KA mixer, as it only required medium-low speeds.  Had it been more heavy duty – kneading on medium-medium-high, I would have burned out my stand mixer.  It was only a matter of changing from the paddle to the dough hook once all the ingredients were combined.  I ended up adding more bread flour, tablespoon by tablespoon, until the dough balled and climbed the hook.

Fresh cranberries were not to be had since it was only the beginning of October. so I used dried.  I like walnuts, but my children do not, so I omitted them from the recipe.  The cranberries, pumpkin, nutmeg, and cinnamon made for an aromatic dough. For the first rise, I turned my golden orange ball into a buttered bowl, covered it tightly with plastic wrap, and waited two hours.  At that time, I deflated it by punching it down, returning it to the bowl and letting it refrigerate overnight.  

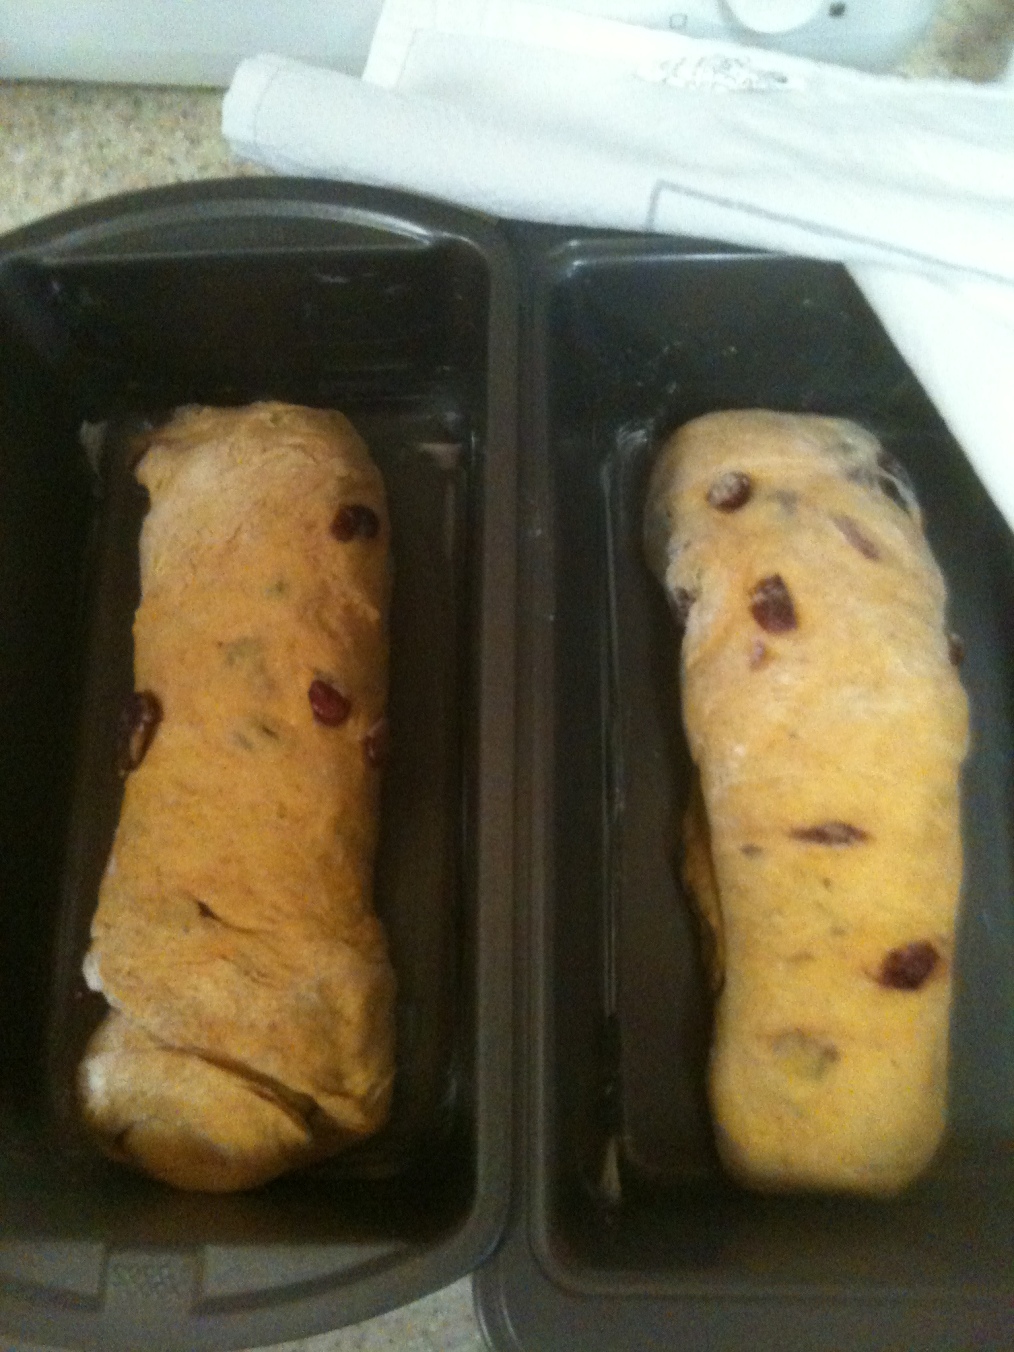
You have to take it out of the refrigerator about six hours before you bake, so I took my mine out first thing in the morning.  You let it sit out for 3-4 hours, then divide the dough and put it in buttered pans.  The recipe called for three small pans, but I used two medium pans.  After dividing the dough and shaping my loaves, I put them in the pans and covered them lightly with a dish towel.  Two hours later, I was ready to bake off the bread.  The pans went into a 350 degree oven for just over 35 minutes.  The golden loaves reminded me of my “sharpei” experience with the white loaves – a little smushed looking, like they couldn’t bust out of their pans.

They were tasty and the girls enjoyed them, but I’m not sure it’s a keeper.  I prefer my pumpkin banana bread (a quick bread), which may take a bit longer to mix up, but no babysitting is required.  As always, glad I tried it!

If you want to see the recipe, check out this blog, http://thisbountifulbackyard.com/

Image


Tuesdays with Dorie: Blueberry Nectarine Pie

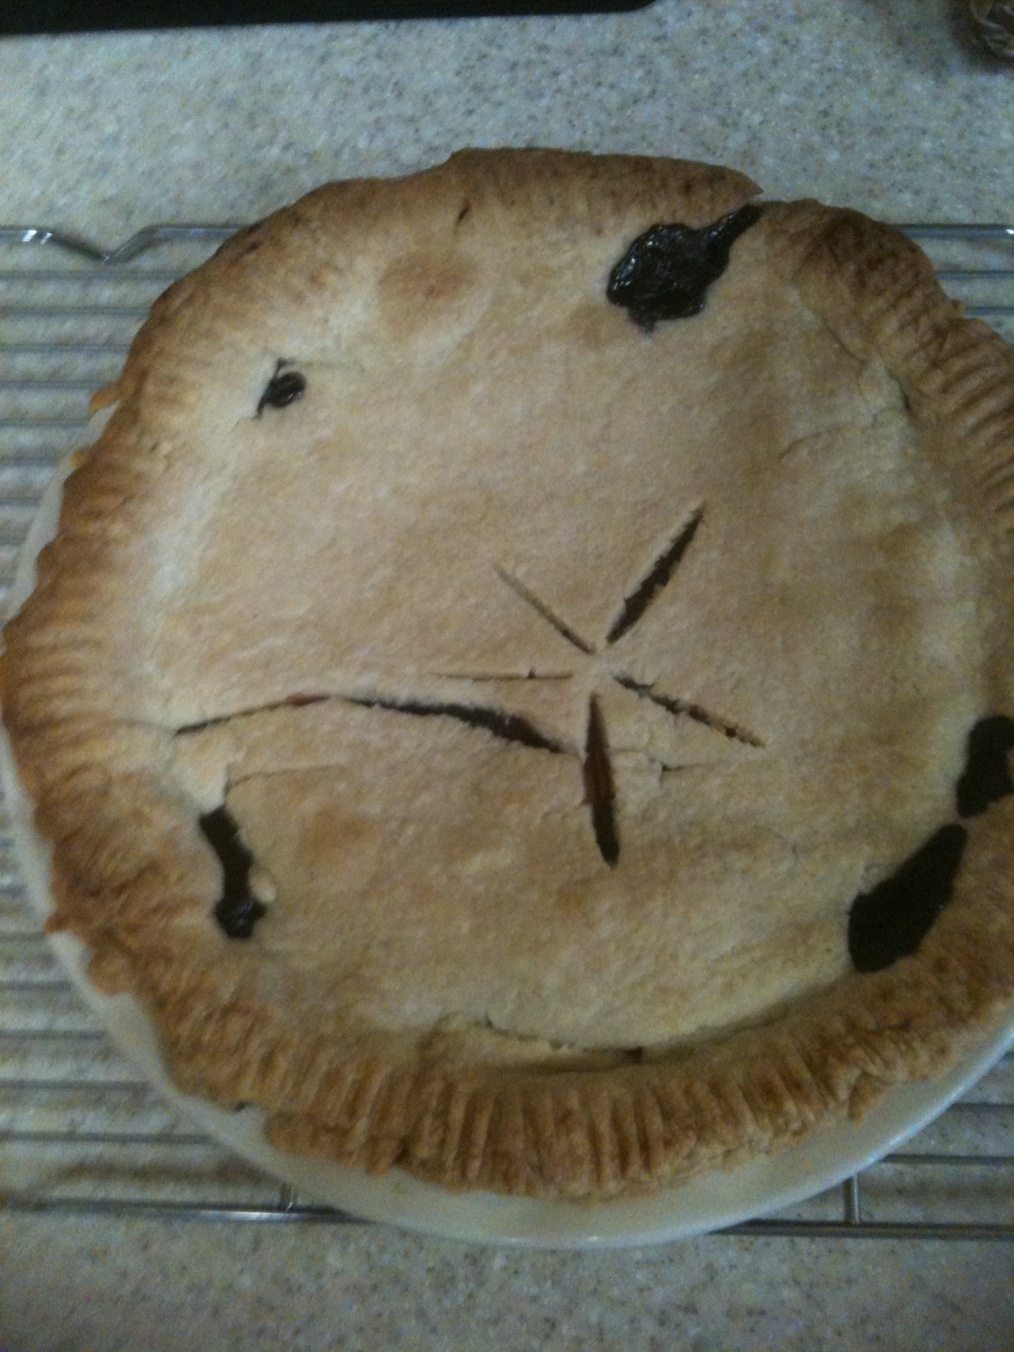
This Blueberry Nectarine Pie is a blue ribbon winner!  The recipe can be found on the websites of this month’s hosts: Liz, http://thatskinnychickcanbake.blogspot.com/ and Hilary, http://manchegoskitchen.typepad.com/.

First off, a homemade pie deserves a homemade crust.  The recipe for the pastry in “Baking with Julia” called for butter and Crisco. Lard (or Crisco) is known for making a really flaky crust. I took a pie-baking class at Charlotte’s own Harvest Moon Grille and the chef rendered her own lard for the crust.  I am not, however, completely comfortable with Crisco or lard in my kitchen.  So instead of using the recommended recipe for pie crust, I used Martha Stewart’s pate brisee instead, which uses all butter.  Two sticks worth.I used my new food processor to make the dough – a Cuisinart 9-cup, literally out of the box (Happy Mother’s Day to me!)  I probably needed a bit more ice water though my dough came together.  I wrapped my two dough discs in plastic and put them in the fridge to work on my filling.

This is the first blueberry pie recipe I’ve come across where you cook down the fruit in a saucepan.  Martha’s “Perfect Blueberry Pie” goes through many stages of chilling to keep the fruit from getting soupy when you bake it.  But this pie practically has you making preserves!

Image

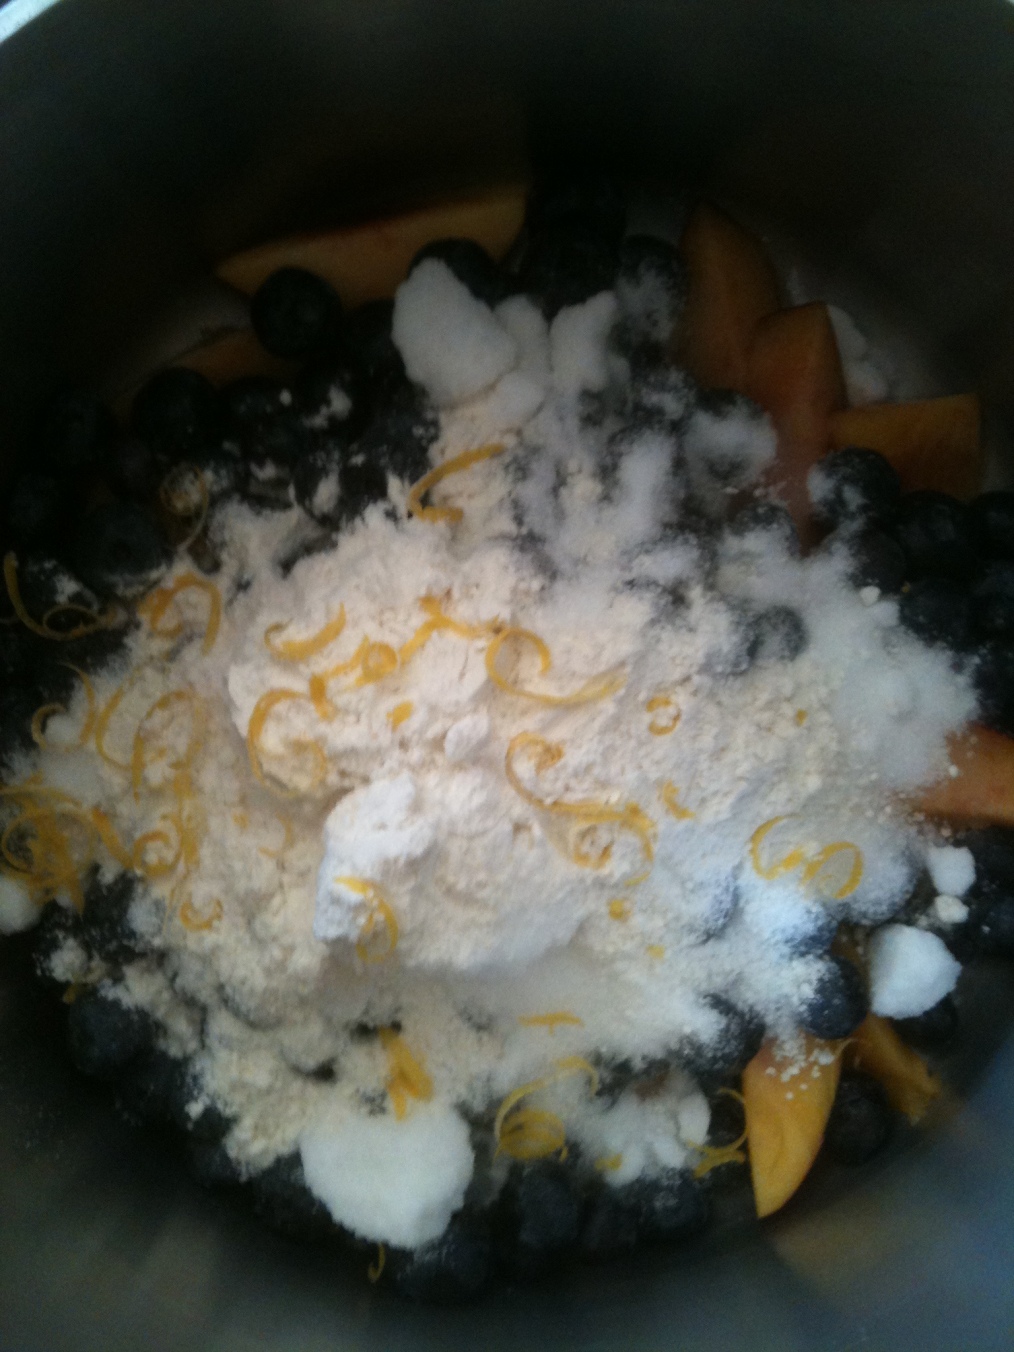
Half the fruit was placed in the saucepan (a pint of blueberries and one and a half nectarines), with sugar, a bit of flour and lemon zest.  Even this looked pretty (see above).  The fruit was to be brought to a slow boil over medium heat while stirring constantly.  I should have known that whenever a recipe says that you will be stirring constantly for a very long time!  It felt like 20 minutes and my beautiful fruit did look like the most perfect jam.  I poured my cooked fruit into a bowl and added the rest of the fruit and allowed it to cool.  It smelled heavenly!

As I let the fruit come to room temperature, I took out my dough discs and floured my work space.Rolling chilled dough is tough enough, but I found my dough cracked easily and it was difficult to roll it thin.    I managed to get the bottom into the pie plate without too much fuss.  I spooned in the cooled fruit and rolled out my top crust.  This should have been a breeze, but again I had trouble getting it to the desired thickness and keeping it in some semblance of a circle. I wonder if the cracking was because I didn’t use enough ice water…isn’t there a trick to using a little bit of water to prevent dough from cracking?

I just barely got my topper on and tried to seal all cracks.  I sealed them as best I could, but I noticed they weren’t completely repaired after baking:(  I chilled the put-together pie for twenty minutes as directed, then baked it off.

Image

I read everyone’s comments thoroughly, so I knew to let the pie cool completely before cutting.  It actually sat for several hours until it was served with a scoop of cherry vanilla ice cream.  If anyone has advice on how to deal with the cracking crust – please let me know!


TWD: Pizza Rustica

I was excited to make something savory, that could actually pass as dinner, but not as jazzed about the “pizza” aspect.  Throw pizza out the window because it has nothing to do with this recipe!!!  Pizza rustica is more savory tart or pie (think quiche, not so eggy, very cheesy) with a sweet crust.  It does not resemble pizza except for the meat and cheese aspect – no tomato saucy thing here.

As I read through the recipe, it called for the dough, a pasta frolla, to be made in a food processor.  My food processor died weeks ago, and I hadn’t replaced it.  I walked into Bed, Bath, & Beyond thinking I’d make a quick purchase of another one, but the variety and the price tag put me off.  I chose to make it in my Kitchen Aid mixer and it worked beautifully.  Using the whisk attachment I blended the dry ingredients, and added the eggs while it was still mixing.  After the dough came together, I used my bread hook to knead for a minute.  The dough was not sticky in the least and I was able to roll it into a ball, wrap it in plastic, and set it aside while I made the filling.

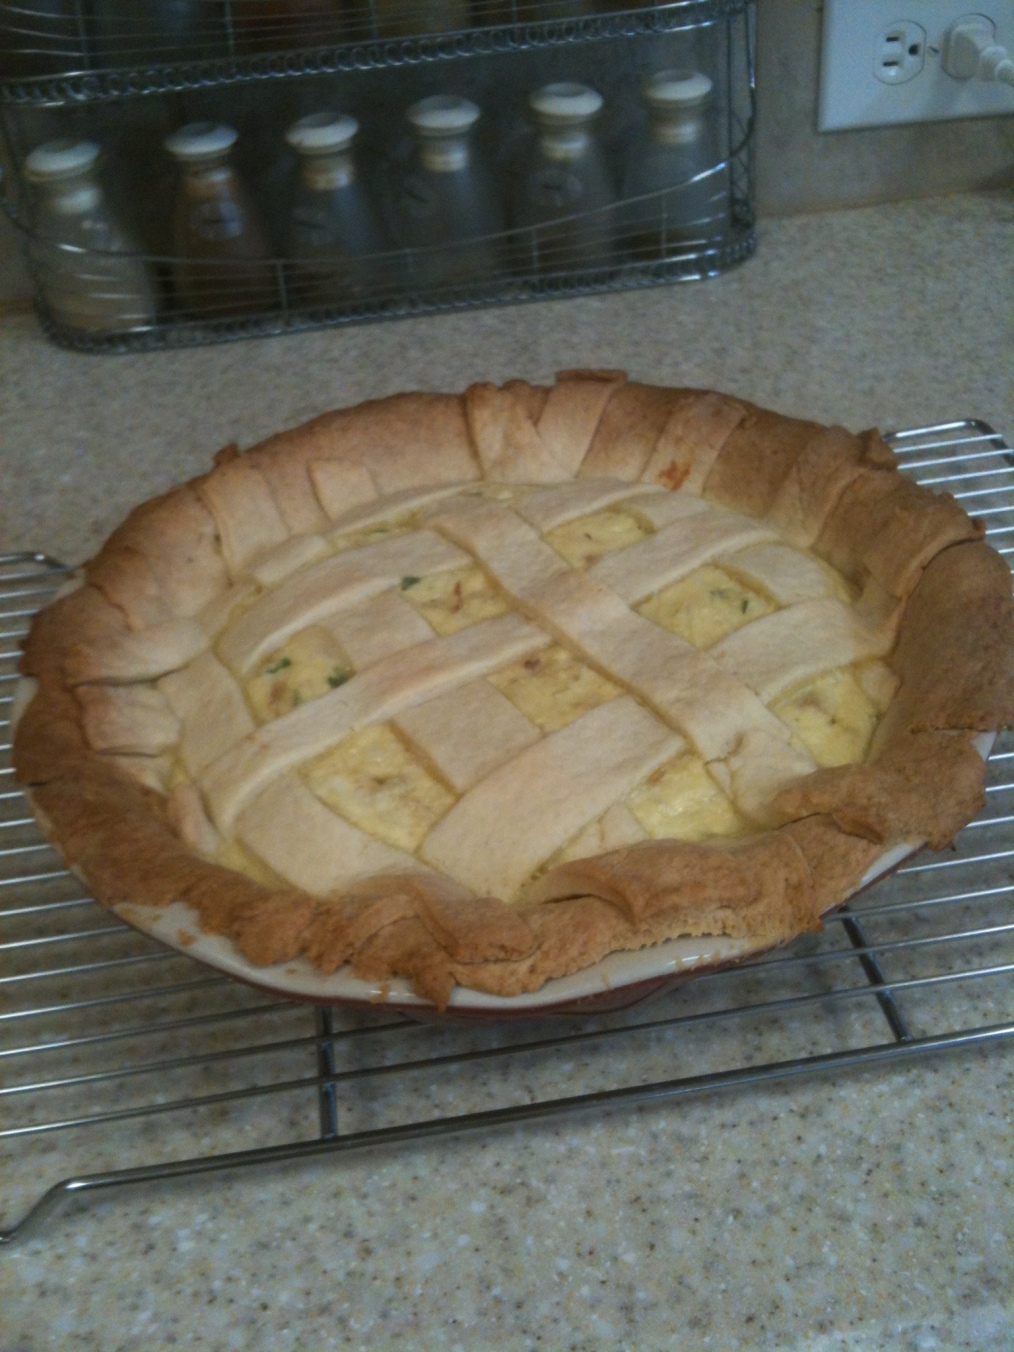
The filling of ricotta, shredded mozzarella, pecorino romano (I used parm), prosciutto, eggs, and parsley came together quickly, though looked a bit puny for filling a 9″ pie dish.  I rolled out the dough easily, and pressed the bottom into a buttered dish.  Then I made my lattice top crust (I will be investing in a pastry wheel for the pretty edges).  My filling only filled the pie dish 3/4 of the way, seemed like it would have fit better in an 8″ pie dish.

The edges of my pie browned quickly, while the lattice crust barely browned at all.  I put foil over the edges of my crust and added to a few minutes to see if I could brown up the lattice, but I didn’t want to overbake, so I ended up taking it out.

I served the pizza with an arugula-pear-blue cheese salad.  The filling was bland, but yummy.  While I thought I used quite a bit of prosciutto, it seemed to be lost in cheese. I kept waiting for the salty contrast with the sweet crust. Next time, I would use more prosciutto and maybe some sauteed shallots or very mild mushrooms to liven up the filling.  The crust, however, could have been eaten on its own.  It tasted like shortbread!  I am not really a pie crust eater, but this was truly delicious.

I wish I could say the pizza rustica was a hit with ma familia, but it wasn’t.  I didn’t even understand why – it was very beige, Imageno dominant flavors.  I wondered if that was the problem, so the next night I served the pizza with a side of marinara, thinking that might make it more palatable for them.  It didn’t work.

While this recipe may not work as a family dinner, I would definitely serve it at a luncheon with a salad. Who wants to come over?

One thing I am noticing as we bake is that my confidence with dough is soaring.  I don’t even bat an eye at a pastry crust anymore – that is progress.

“Unable are the loved to die. For love is immortality”. – Emily Dickinson

Yesterday I woke to loud laughter and jumping on a bed.  Most Saturdays the girls make their way downstairs fairly quietly, and flip on the tv or the computer.  The excitement in the air on this particular morning was all about the Father-Daughter dance that evening…

After helping the girls get dressed, hair done, and bejeweled – I waved goodbye as they went out to dinner with John and I drove to the school to help with preparations for the event.  I was happy to be a fly on the wall at the dance, peeking in at them dancing with John and their friends.  John left early, 8:15ish, since Olivia was falling asleep; Caroline stayed with me until the end and helped us clean up.

When I got home, I checked the mail – there was an envelope from Capital Caring – the hospice service that cared for my mom.  “You are halfway through the first year of life without your loved one”.  As I read on, they described many of my thoughts and feelings of late – including “a greater need to express” yourself – is this where the seed for this blog was planted?

I pulled myself upstairs to get ready for bed and spotted a card on my bedside table.  The cover was a beautiful Japanese-style reed of bamboo and the Emily Dickinson quotation was next to it.  It was a card from John’s brother, Jeff.  He’d given it to John at my mother’s funeral, John put it in his suit pocket and didn’t discover it again until last night after the dance.

Every day is a day of reminders of Mom – maybe not so “in your face” as yesterday, but I see her in everything.  How she would have loved the pictures of the girls with John at the dance, the yoga class I took this morning, the knitting project I’m working on..she has achieved her immortality as she lives on in everything I see and do.

When I started this blog, I wanted to pretend it was about a cookbook or being a better baker, but it can’t help being about grieving.  Hopefully not overtly, as I cringe at the self-indulgence.  Maybe I can see the grief just as the waves that will buoy me up, carrying me to where I am supposed to go.

Finally ready to start…

In another life, I taught ESL and lived in Brooklyn.  I met my husband there and we have shared a love of food and cooking for many years.  Now I find myself in Charlotte, North Carolina with two children, who aren’t so little anymore and a bit of time on my hands. 

Last year there was no time for idleness or reflection.  My mom was ill with ALS (Lou Gehrig’s disease) and it seemed to fill all headspace and time.  Separated by a seven-hour drive, the time I wasn’t there, I worried and wished I were there; when I was there I was in that moment – there was no place else to be.  My mother who loved food and could remember every meal she’d ever eaten could no longer swallow.  One of the last things she ate was a chocolate doberge cake from Haydel’s bakery in New Orleans.

She passed away in June.  My sister and I talked about a cookbook – compiling Mom’s recipes for everyone, but we weren’t able to think about it or do anything about it.  Thanksgiving was the worst with her birthday just a day before.   Christmas was a little better, then thank God, a brand new year.

I’ve started thinking about the cookbook, looking at publishers, organizing it, etc.  There is  a huge accordion folder of recipes that have been sitting in my basement for 8 months that I’m ready to go through.

For Christmas 2010, I gave myself Dorie Greenspan’s “Around My French Table” and fell in love with it.  Not only did the food look beautiful, her writing was gorgeous.  I remember sitting down for an hour just reading it.  Recently, I heard her on NPR talking about “Tuesdays with Dorie” – a group of bloggers who have cooked their way through an entire cookbook together.   So I thought that while I am working with my mom’s recipes, I would start expanding my own culinary skills with the group as they tackle “Baking with Julia”.

I plan to start baking with group in February…in the meantime I’m working on the cookbook and thinking that I’d like to have it done in June – the first anniversary of her death.  It may be too ambitious – I guess we’ll have to see.

For me, writing it down is always a beginning – a committment, a promise to go forward.  So, I wonder what will happen next?